Manage Raiden Nodes
Warning
Raiden is still experimental technology. All of the usual "do not place more funds that you can afford to lose" warnings should be taken with extra consideration.
If you want to accept payments on Ethereum, you might be interested in adding support to layer-2 solutions that help avoiding unnecessary transfer costs. One such solution that is supported by Hub20 is the Raiden Network, an off-chain scaling system based on payment channels.
One thing to always keep in mind: Raiden integration works through its HTTP API. All commands for channel funding, token transfers and call to the underlying contracts happen by simple HTTP requests to the node's server. As such, DO NOT EXPOSE A RAIDEN NODE TO THE PUBLIC INTERNET.
Any instance of Hub20 only interfaces with a Raiden node through its HTTP API. Therefore, they need to be either on the same private network (recommended) or you need to add your own authentication method (e.g, by putting Raiden behind a proxy that can only serve authenticated requests).
Tip
If you never used Raiden before, it will be wise to download the latest release and try it on a test network, by itself, and only integrate a mainnet deployment into Hub20 when you are more aware of how it works.
This guide will cover the method where Hub20 and Raiden are both running as docker containers on the same network. The Hub20 instance gets access to the public internet and Raiden is only accessible to the Hub20 server.
Running Raiden through docker
We need to use a slightly modified version of the docker image provided by Raiden. which can be found at mushroomlabs/raiden. The original image assumes that the node will be started manually and always ask for a password to unlock the key file, while this image is more suitable for a server environment, and the private key can be loaded directly (as an environment variable or secret that can be stored in a secret management tool such as Hashicorp's Vault).
services:
  raiden:
    image: "mushroomlabs/raiden:${RAIDEN_VERSION:-3.0.1}"
    restart: unless-stopped
    environment:
      RAIDEN_ACCEPT_DISCLAIMER: "true"
      RAIDEN_API_ADDRESS: 0.0.0.0:5001
      RAIDEN_ENABLE_MONITORING: "true"
      RAIDEN_ETH_RPC_ENDPOINT: your-ethereum-rpc-url
      RAIDEN_KEYSTORE_PATH: /keystore
      RAIDEN_WEB_UI: "true"
      RAIDEN_NETWORK_ID: (goerli/mainnet/rinkeby/kovan)  # Choose blockchain by name or id
      RAIDEN_ROUTING_MODE: pfs
      RAIDEN_PRIVATE_KEY: private-key-for-account

    networks:
        # Check docker/docker-compose documentation about network configuration
        your-hub20-network:

    volumes:
        # Check docker/docker-compose documentation about volume configuration
      - raiden-data:/root/.raiden
Once you set up the parameters correctly for your docker network and
volumes, the configuration above should be enough to let you have a
node at http://raiden:5001.
Registering a Raiden node
You can check if the node is running by inspecting the logs with
docker-compose logs raiden. If everything is okay, you should then
register it with Hub20. There are two ways to do it.
Using the Admin Website
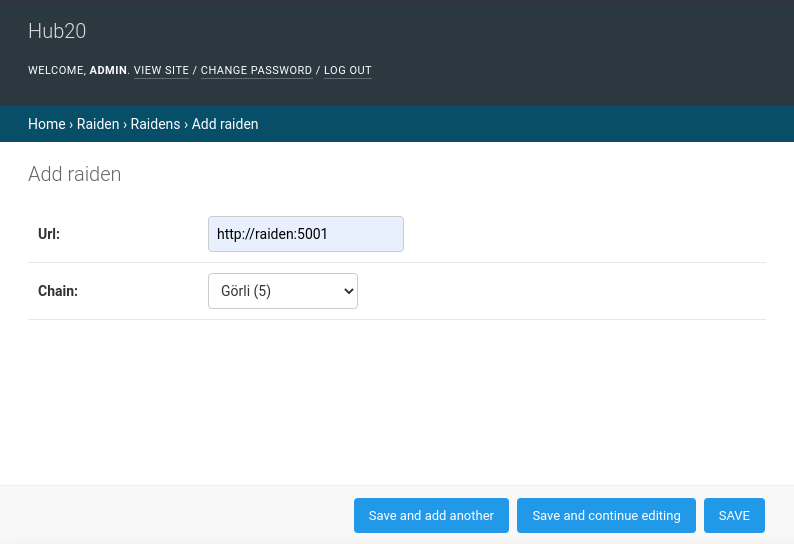
If you have access to the admin website, you can add a new raiden node.
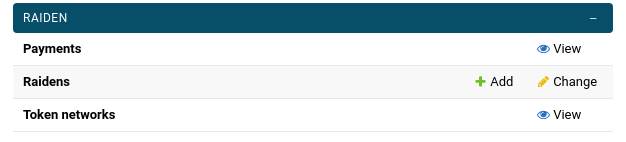
Click on "Add" link will take you to a form where you need to provide the URL of the node, and the blockchain that is connected to.
Warning
Raiden's API does not give any information about what blockchain it is actually connected to, so there is no way for your Hub20 instance to verify if the information is correct.
Using the CLI
You can also register a new node through the CLI
django-admin register_raiden [-h] --chain-id CHAIN_ID --raiden RAIDEN_URL
Creating and funding raiden channels
The following commands are available through the CLI: